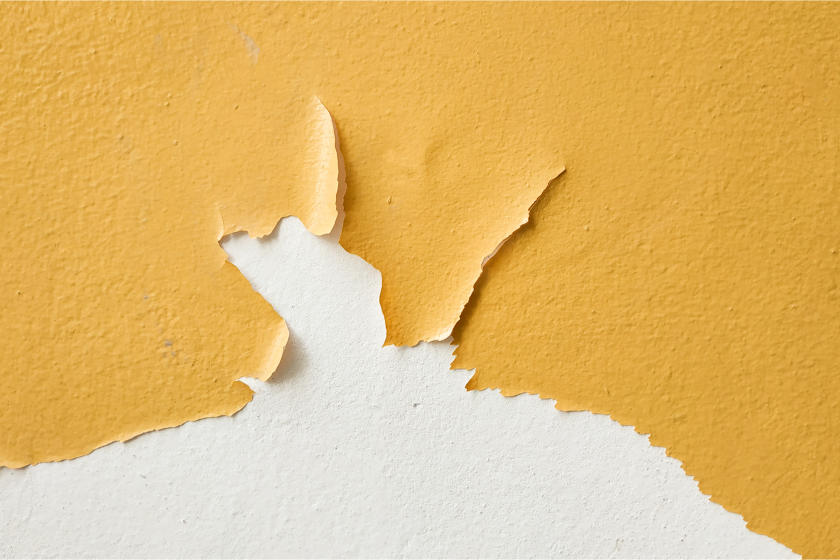
Peeling paint can be a frustrating sight for any homeowner. Not only does it make your walls look unsightly, but it also raises concerns about the overall condition and durability of your home. However, fixing peeling paint doesn’t have to be a daunting task. In this blog, we’ll teach you to say goodbye to peeling paint, forever! And, show you how to explore the causes of peeling paint, step-by-step instructions to fix it, and tips to prevent future occurrences.
Understanding the Causes of Peeling Paint
Before diving into the solutions, it’s important to understand why paint peels in the first place. Several factors can contribute to peeling paint, including:
Moisture
Moisture is one of the leading causes of peeling paint. It can seep into the walls, causing the paint to lose adhesion and bubble up.
Poor surface preparation
Failing to properly clean, prime, and prepare the surface before painting can lead to paint peeling over time.
Low-quality paint
Using cheap or low-quality paint that lacks adequate adhesion properties can result in premature peeling.
Temperature fluctuations
Extreme temperature changes, such as freezing winters or scorching summers, can cause paint to expand and contract, leading to cracking and peeling.
Inadequate ventilation
Insufficient airflow and ventilation can trap moisture within the walls, accelerating the peeling process.
Fixing Peeling Paint
Step-by-Step Guide. Now that we have identified the potential causes, let’s explore the step-by-step process to fix peeling paint:
- Prepare the area: Start by removing any loose or peeling paint using a scraper or putty knife. Ensure you wear safety goggles, gloves, and a dust mask to protect yourself from paint chips and dust.
- Sand the surface: After removing loose paint, gently sand the area to create a smooth and even surface. Use medium-grit sandpaper and be cautious not to damage the underlying wall.
- Clean the surface: Thoroughly clean the sanded area with a mild detergent and water solution. This step removes dirt, grease, and any residue from the previous paint job. Allow the surface to dry completely before proceeding.
- Prime the surface: Apply a high-quality primer to the prepared area. Priming helps the new paint adhere better and ensures a long-lasting finish. Follow the manufacturer’s instructions for application and drying times.
- Repaint the area: Once the primer is dry, apply a coat of paint that matches the surrounding wall. Use a high-quality paint with good adhesion properties. Apply multiple thin coats rather than one thick coat for better results. Allow each coat to dry completely before applying the next.
- Finishing touches: Once the new paint is dry, inspect the area for any imperfections. If necessary, lightly sand the surface and apply an additional coat of paint for a seamless finish.
To learn more or ask for professional assistance, give us a call. Sheldon & Sons Painting, 410-654-6000.

